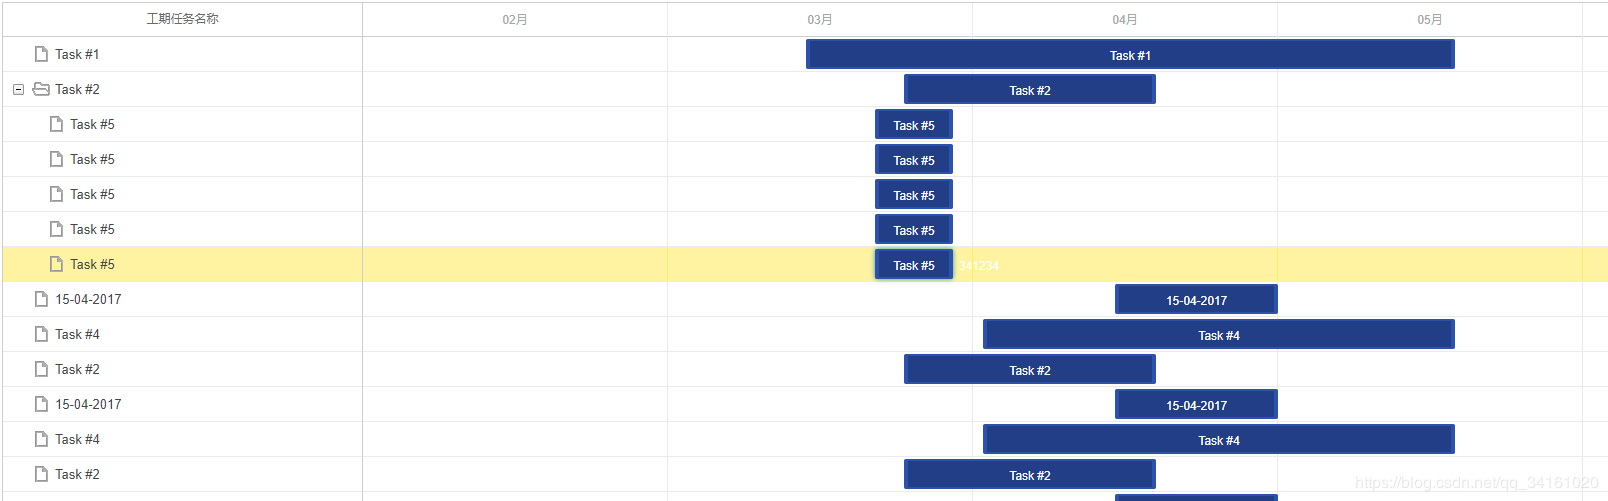
vue甘特图的实现可改变颜色
日期:2019-12-28
来源:程序思维浏览:6199次
这几天做项目需要用vue实现甘特图,下面和大家分享一下:

下载包
npm install dhtmlx-gantt --save
创建Gantt.vue文件
<template>
<div ref="gantt"></div>
</template>
<script>
import 'dhtmlx-gantt'
export default {
name: 'gantt',
props: {
tasks: {
type: Object,
default () {
return {data: [], links: []}
}
}
},
mounted: function () {
gantt.init(this.$refs.gantt)
gantt.parse(this.$props.tasks)
}
}
</script>
<style>
@import "dhtmlx-gantt/codebase/dhtmlxgantt.css";
</style>
在需要的甘特图vue文件中写入以下代码
<template>
<div class="container">
<gantt class="left-container" :tasks="tasks"></gantt>
</div>
</template>
<script>
import Gantt from './components/Gantt.vue';
export default {
name: 'app',
components: {Gantt},
data () {
return {
tasks: {
data: [
{
text: 'Test001-001',//任务名
start_date: '19-04-2017',//开始时间
id: 1,//任务id
duration: 13,//任务时长,从start_date开始计算
progress: 0.6,//任务完成情况,进度
parent: 2,//父任务ID
user: "李四",//成员
planned_end:'19-04-2017', //计划开始时间
planned_start:'10-04-2017',//计划结束时间
show:false,
open: true,//默认是否打开
type: 'project'// gantt.config.types.milestone为里程碑类型
// project为项目任务类型,也就是摘要任务,
// task为普通任务类型
},
{id: 2, text: 'Task #1', start_date: '15-04-2017', duration: 3, progress: 0.6},
{id: 3, text: 'Task #2', start_date: '18-04-2017', duration: 3, progress: 0.4}
],
links: [// links为任务之间连接的线
{id: 1, source: 1, target: 2, type: '0'}//source根源 target目标 也就是从id为1的指向id为2的
//type:'0'是从1任务完成到2任务开始,type:'1'是1任务开始到2任务开始,
//type:'2'是从1任务完成到2任务完成,type:'3'是从1任务开始到2任务完成
]
},
}
}
}
</script>
Dhtmlx-Gantt代码说明:
mounted: function () {
gantt.init(this.$refs.gantt)
gantt.parse(this.data.tasks)
}
其中tasks数据格式为
{
data:[
{id:1,text:'Task#1',start_date:'15-04-2017',duration:3,progress:0.6},
{id:2,text:'Task#2',start_date:'18-04-2017',duration:3,progress:0.4},
{id:3,text:'Task#3',start_date:'19-04-2017',duration:3,progress:0.4}
],
links:[
{id:1,source:1,target:2,type:'0'}
]
}
设置样式
<style>
@import "~dhtmlx-gantt/codebase/dhtmlxgantt.css";
</style>
改变每个Task的颜色
var tasks = {
data:[
{id:1, text:"Project #1", start_date:"01-04-2013", duration:18, color:"red"}, //color:"red"改变颜色
{id:2, text:"Task #1", start_date:"02-04-2013",
duration:8, color:"blue", parent:1},
{id:3, text:"Task #2", start_date:"11-04-2013",
duration:8, color:"blue", parent:1}
]
};
gantt.init("gantt_here");
gantt.parse(tasks);
gantt.getTask(1).color = "red"
这里是Dhtmlx-Gantt官方demo,介绍了基本用法,Dhtmlx-Gantt功能还是比较强大的,更多的用法需要自己去阅读官方api
官方api文档
官方api文档主要分为:方法、属性、事件、模板、其他
方法 :
调用形式
gantt.addCalendar(calendar);
属性:
设置形式
gantt.config.autoscroll = true;
gantt.config.autoscroll_speed = 50;
事件:
使用方式
gantt.attachEvent("onGanttScroll", function (left, top){
// any custom logic here
});
模板:
自定义甘特图中的部分组件展示效果
如:指定树列中子项的标签之前插入的自定义内容
gantt.templates.grid_blank=function(item){
return "<divclass='gantt_tree_icongantt_blank'>##</div>"
}
其他:就是其他
精品好课

2021年最新Vue2+Vue3+ES6+TypeScript和uni-app开发微信小程序从入门到实战视频教程,本课程教你如何快速学会VUE和uni-app并应用到实战,教你如何解决内存泄漏,常用UI库的使用,自己...
React是目前最火的前端框架,就业薪资很高,本课程教您如何快速学会React并应用到实战,教你如何解决内存泄漏,常用UI库的使用,自己封装组件,正式上线白屏问题,性能优化等。对正在工作当中或打算学习React高薪就...
HTML5基础入门视频教程,教学思路清晰,简单易学必会。适合人群:创业者,只要会打字,对互联网编程感兴趣都可以学。课程概述:该课程主要讲解HTML(学习HTML5的必备基础语言)、CSS3、Javascript(学习...
适用人群1、有html基础2、有css基础3、有javascript基础课程概述手把手教你如何开发属于自己的HTML5视频播放器,利用mp4转成m3u8格式的视频,并在移动端和PC端进行播放支持m3u8直播格式,兼容...
React是前端最火的框架之一,就业薪资很高,本课程教您如何快速学会React并应用到实战,对正在工作当中或打算学习React高薪就业的你来说,那么这门课程便是你手中的葵花宝典。
VUE是目前最火的前端框架之一,就业薪资很高,本课程教您如何快速学会VUE+ES6并应用到实战,教你如何解决内存泄漏,常用UI库的使用,自己封装组件,正式上线白屏问题,性能优化等。对正在工作当中或打算学习VUE高薪就...
React和VUE是目前最火的前端框架,就业薪资很高,本课程教您如何快速学会React和VUE并应用到实战,教你如何解决内存泄漏,常用库的使用,自己封装组件,正式上线白屏问题,性能优化等。对正在工作当中或打算学习Re...
jquery视频教程从入门到精通,课程主要包含:jquery选择器、jquery事件、jquery文档操作、动画、Ajax、jquery插件的制作、jquery下拉无限加载插件的制作等等......